
How to install a paver pad with no heavy equipment.
- Fundamental Foundation

- May 30
- 2 min read
Updated: May 30

The depth of the gravel base will depend on the intended use of the pavers (e.g., patio, driveway) and the soil conditions. A general guideline is 4-6 inches for patios and walkways, and 8-12 inches for driveways.

For a paver base, a good choice is 3/8-inch to 3/4-inch crushed gravel. This size provides good compaction, drainage, and a stable foundation for the pavers. A well-graded mix of crushed stone with some fines also works well, as the smaller particles help fill gaps and create a more solid base.

The phrase “SET SCREED POLES, PLACE AND SCREWS SAND” is likely construction site shorthand or notes related to preparing a surface—usually for pouring concrete or laying pavers. Here’s a breakdown of what it means:
🔧
SET SCREED POLES
Screed poles (also called screed rails or guides) are straight pipes or metal rods placed on the ground to define the final height and slope of a sand or concrete base.
“Setting” them means placing them level or on the required grade, often using a laser level or string line.
🪵
PLACE AND SCREED SAND
Place sand means to spread the sand over the work area (typically bedding sand for pavers or under concrete).
Screed sand refers to leveling the sand using a screed board (usually a long, straight piece of wood, metal, or aluminum) by pulling it across the top of the screed poles.
This makes the sand base smooth, level, and at the correct height before removing the screed poles and filling in the gaps.
“Set screed poles, place and screed sand” means:
Install guide rails at the right height.
Spread sand over the area.
Level the sand using the guides to create a smooth base for concrete or pavers.
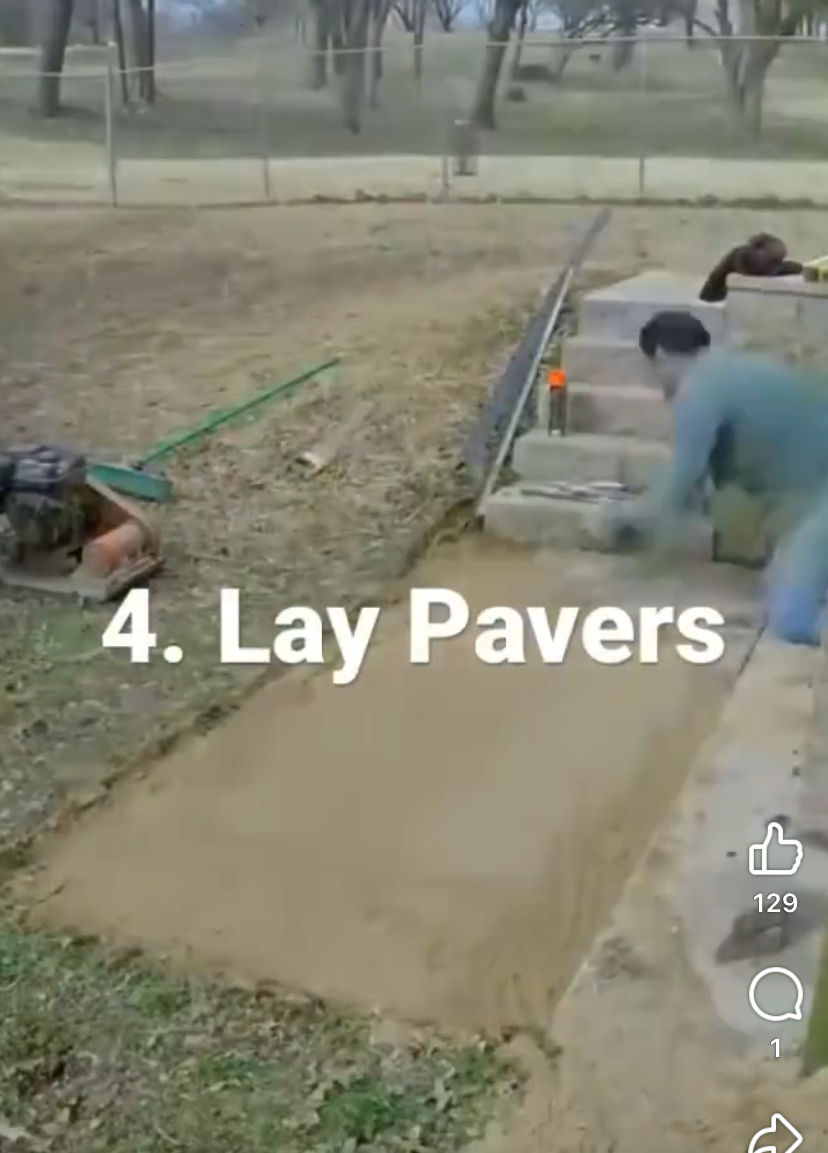
Start at a straight edge (like a wall or sidewalk).
Place pavers in your chosen pattern.
Tap each one into place gently with a rubber mallet.
Use spacers or eyeball small gaps (⅛–¼”).
Cut Pavers (if needed)
Use a wet saw, angle grinder, or paver splitter for edges and corners.
Always wear safety gear when cutting.

Secure the perimeter using plastic edge restraints and spikes.
This prevents shifting over time.
Once all pavers are laid:
Sweep polymeric or joint sand into the gaps.
Run the plate compactor over the surface.
Sweep in more sand to fill joints again.
Lightly mist with water if using polymeric sand to activate binding.
✅ Done!
You now have a solid, level paver surface that should last for years.
🛠 Tools & Materials Checklist:
String line & stakes
Shovel or mini-excavator
Crushed stone (base)
Bedding sand (washed concrete sand)
Screed poles & board
Pavers
Rubber mallet
Plate compactor
Joint sand (polymeric recommended)
Edge restraints
Saw or splitter for cuts


